Where the Main Shutoff Usually Is
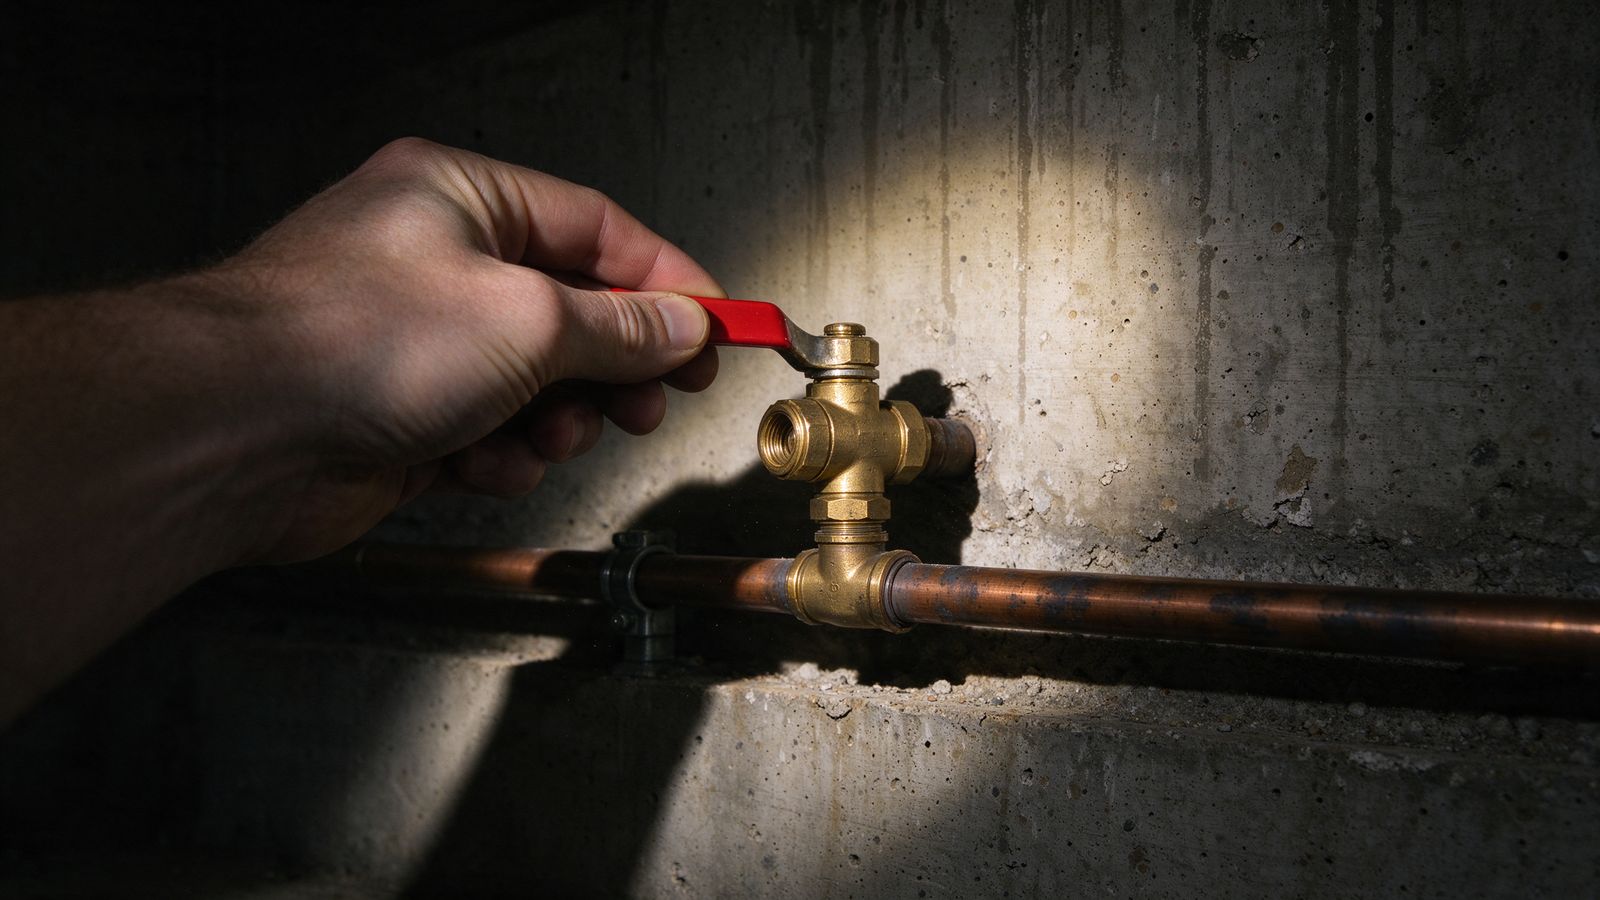
The main valve sits where the water service line enters the building, usually within a few feet of the wall it comes through. Where that is depends on the house, the climate and the age of the plumbing. Start with these places, in roughly this order:
- Basement: on the front foundation wall, facing the street, often near the water meter if the meter is indoors.
- Crawlspace: near the access hatch or along the street side. Bring a flashlight and expect to crawl.
- Utility room, garage or laundry: often beside the water heater, where the cold line drops in.
- Slab homes in warm climates: sometimes outside on an exterior wall, at a hose-bib height, or in a box near the foundation.
- Condos and apartments: often a valve per unit, in a closet, under the kitchen sink, behind an access panel, or controlled by building management.
Follow the cold line backward if you are unsure. The pipe feeding your water heater and kitchen sink eventually leads to the point of entry. A home inspection report, if you have one, often notes the location.
Know the Valve Type Before You Turn It
| Valve | Handle | To close | Watch for |
|---|---|---|---|
| Ball valve | Straight lever | Quarter turn until the lever crosses the pipe | Very reliable; the lever position shows the state at a glance |
| Gate valve | Round wheel | Clockwise, several full turns, until snug | Older gates can seize or fail to seal fully; never force them |
| Fixture stop | Small oval or round knob | Clockwise until it stops | Some are quarter-turn; a seized one can drip at the stem |
| Meter or curb stop | Flat tab or key fitting | Quarter turn with a meter key | Some utilities ask that only they operate it; check first |
"Righty tighty" holds for nearly every residential wheel and knob valve. The lever on a ball valve is the exception that tells you its state: in line with the pipe means open, across the pipe means closed.
Closing the Main Without Breaking It
Turn with steady hand pressure. If a wheel feels stiff, work it back and forth a little rather than leaning on it. Once it is closed, open the lowest cold tap in the house to drain pressure and the water left in the lines. Open an upstairs tap too if you need to drain a burst section above.
Water heater note. With the main closed, a tank heater is not being refilled. If you will be draining lines or the shutdown will last a while, turn the heater to its vacation or pilot setting, or switch off the breaker for an electric unit, so it does not heat a tank that might lose water.
Fixture Shutoffs: Stop One, Keep the Rest
Most toilets, sinks, dishwashers and washing machines have their own small stop valves. They let you isolate a single problem and keep water running everywhere else. Common spots:
- Toilet: on the wall or floor behind and to the left of the bowl, feeding a braided or chrome supply line.
- Sinks and vanities: two valves inside the cabinet, one hot and one cold.
- Dishwasher: usually the hot valve under the kitchen sink, sometimes shared with the faucet.
- Washing machine: two valves in a recessed box behind the machine.
- Refrigerator ice maker: a small saddle or quarter-turn valve under the sink or behind the fridge.
- Water heater: the cold supply valve on the pipe at the top of the tank.
When a Valve Will Not Move
The messy middle
A seized valve is the most common reason a manageable leak becomes a flood. The temptation is pliers or a pipe wrench on the handle. On an old gate valve, that often shears the stem and leaves you with a valve that will not close at all. Use the next valve upstream instead: from a fixture stop to the main, from the main to the meter or curb stop. If the curb stop needs a key you do not have, your water utility can usually shut service at the street. Their emergency number belongs on the checklist by your panel.
Test It This Week, Not During a Leak
Find the main, close it, confirm the kitchen tap stops, then reopen it slowly. Do the same with each fixture stop. If any valve is stiff, weeps at the stem when you reopen it, or will not seal, write it down and have it replaced during regular hours. Then label the main with a bright tag so anyone in the house can find it in the dark.
If something is already wrong, the triage tool lists first moves by situation, and the burst pipe guide picks up from the moment the main is closed.